Brewer’s Spent Grain (BSG) miso
This is part of our series on upcycling brewing by-products.
Table of Contents

i. Introduction
On paper, brewers' spent grain (BSG) seems like an ideal candidate for making miso, due to its high protein content (about 20%).¹ However, as we’ve described elsewhere, its fibrous, gritty texture needs to be acknowledged and prepared with care to ensure a palatable end product. Even a powerful blender like a Vitamix cannot break it down sufficiently; miso made using BSG prepared in this way is still unpleasantly coarse.
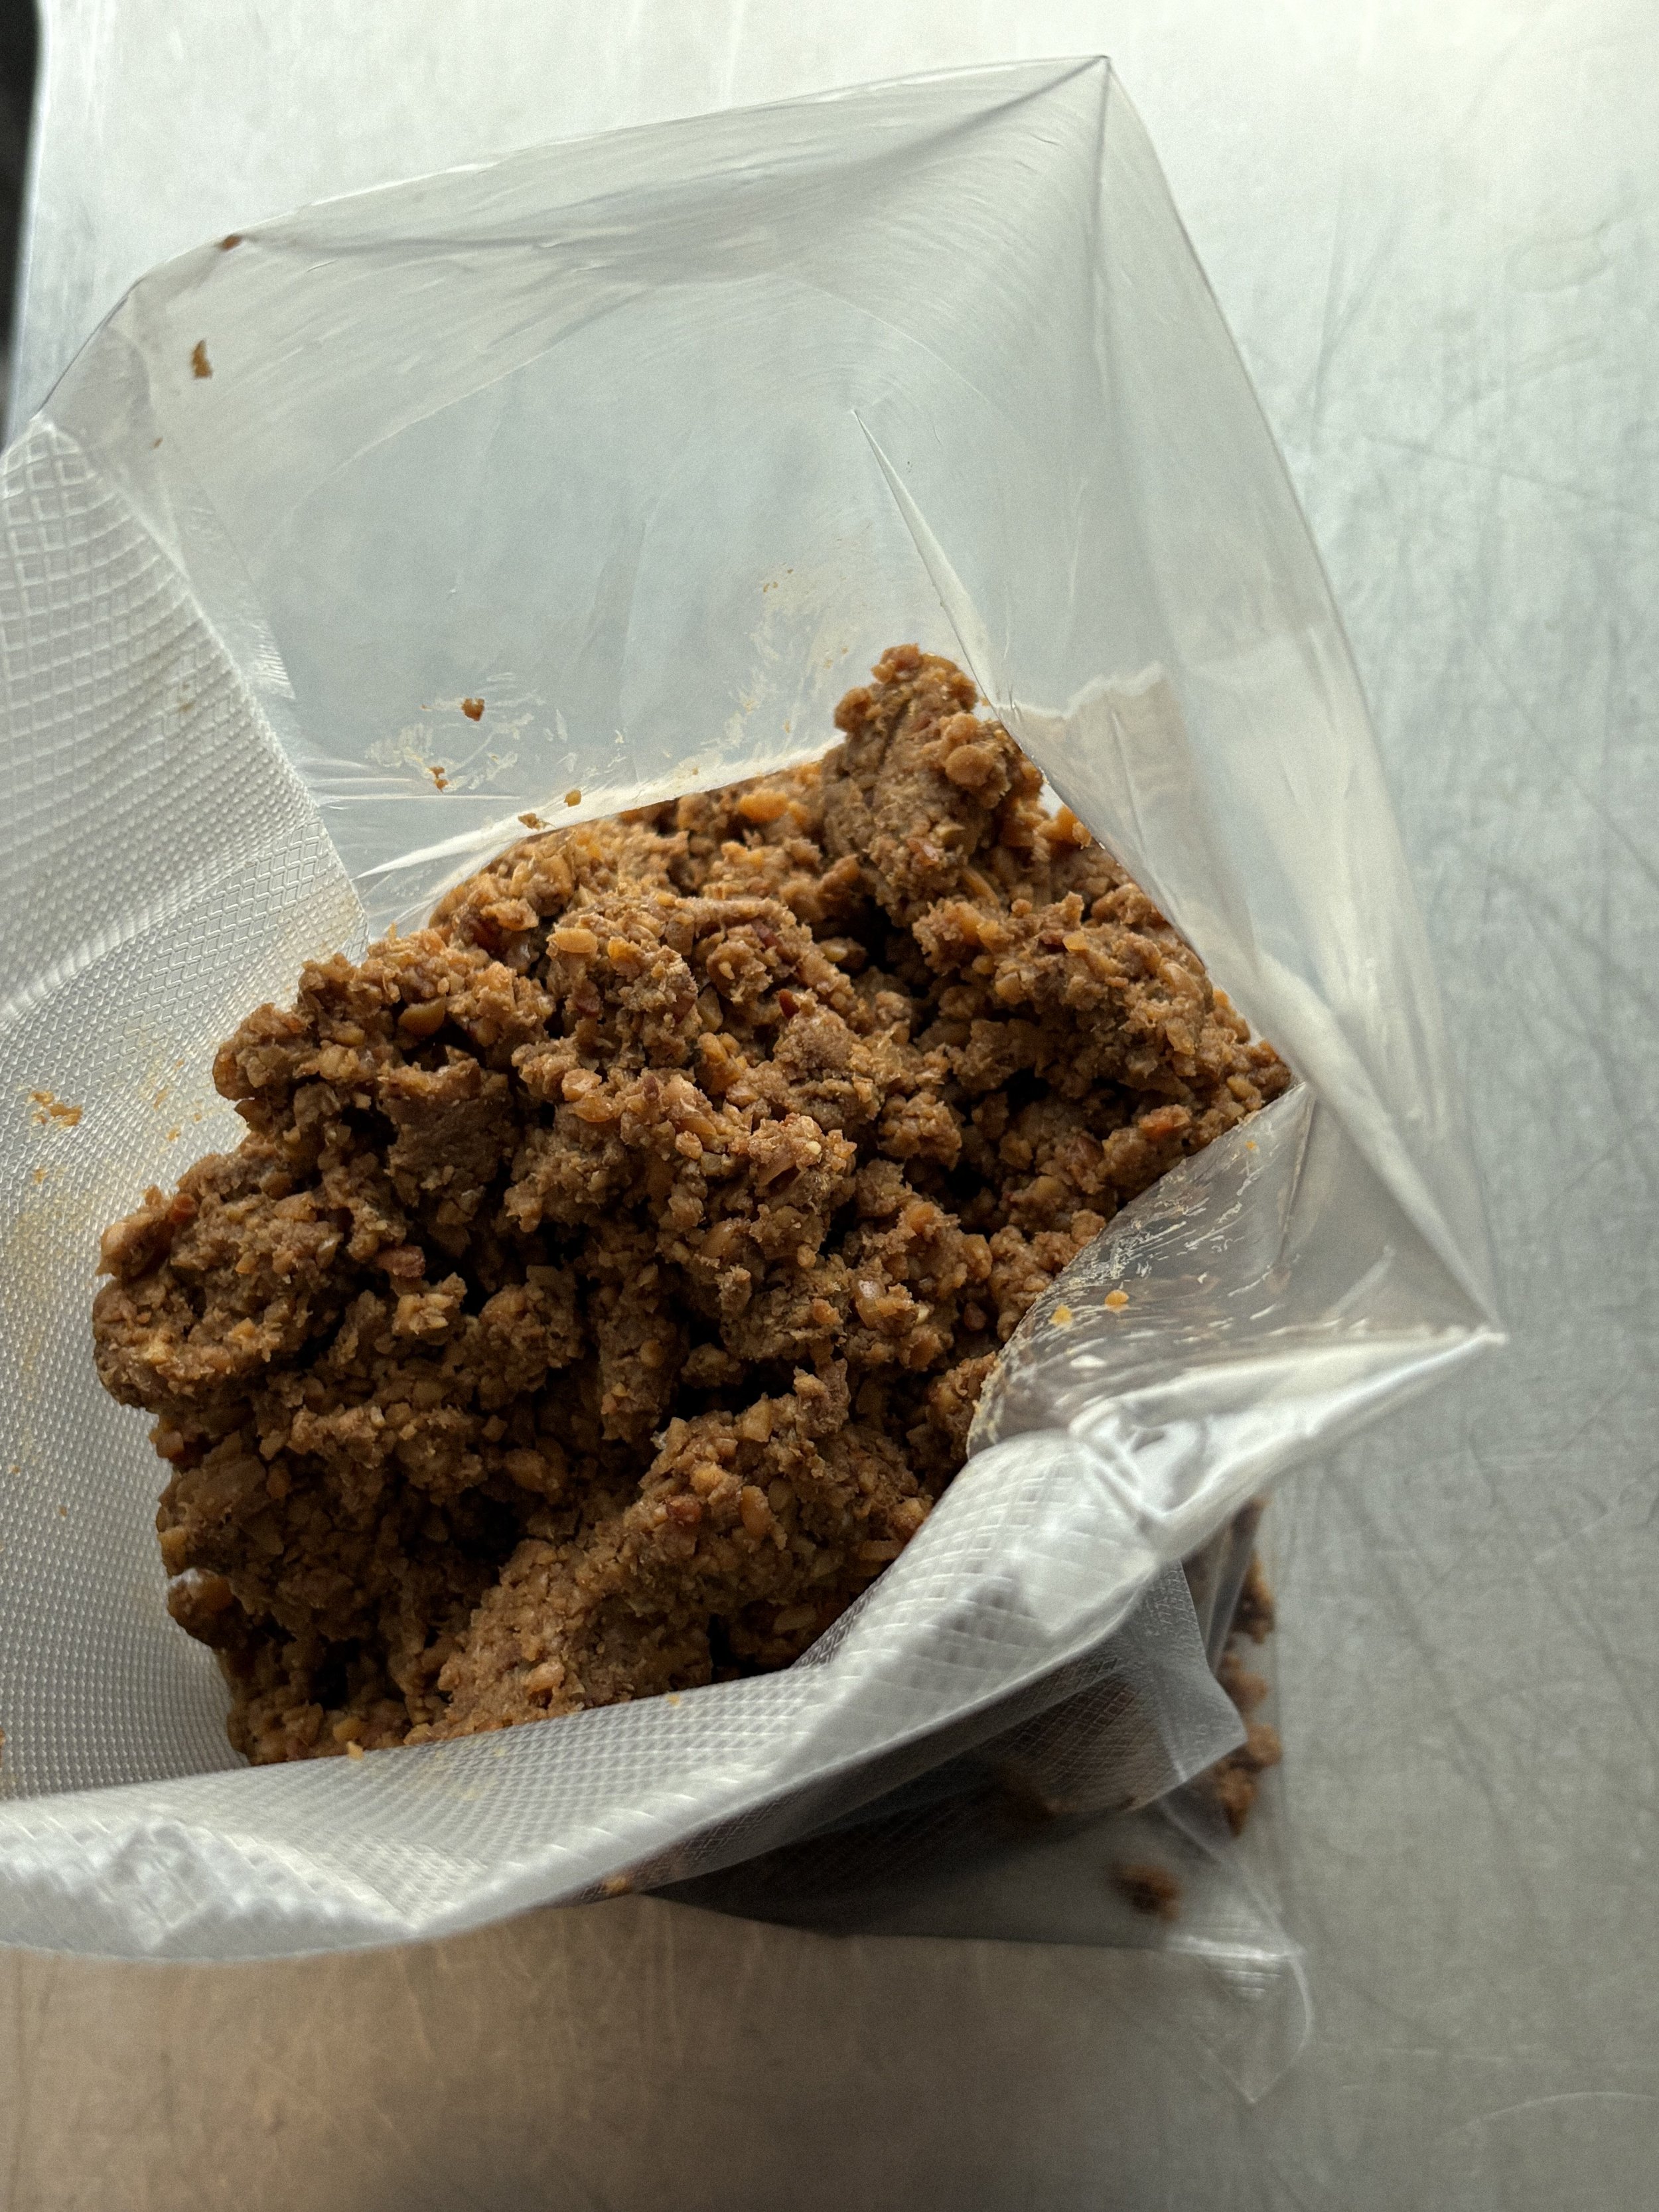
Processing BSG in a wet mill is far more effective, since it grinds the BSG finely enough that the particles are imperceptible. Wet milling does require lots of water, however, which limits how much BSG can be incorporated into a miso, as the total water must be rebalanced in the recipe. Alternatively, dried BSG can be processed in a ball mill without the addition of water. Doing so means a higher proportion of BSG could be used in the final recipe, though such industrial equipment is not accessible to many.
This miso is especially well-suited to breweries with kitchens, where BSG can be repurposed on-site into an ingredient for bar snacks or dishes. It also makes for a straightforward project for home cooks with access to a wet mill and BSG.

ii. Recipe
Ingredients
1 part brewer's spent grain (BSG), dried²
4 parts, water, boiled (measured after boiling)
2 parts, textured soy protein, ground
7 parts, rice kōji, fresh
4% by mass of previous ingredients, salt, non-iodised
Method
Place the dried BSG in a large heatproof bowl and pour over just-boiled water.³ Allow the mixture to cool to less than 40°C.
Transfer the mixture to a wet mill, such as a Premier Wonder Mill or similar, then mill for 24 hours.
Mix the beer grain purée with the soy protein in a large bowl or tray. Ensure that all work surfaces, tools, utensils and hands are sterilised to minimise the introduction of microbial contaminants.
Once combined, add the salt and the kōji, mixing thoroughly by hand until evenly distributed.
Sterilise a fermentation vessel using alcohol or boiling water, and if using the latter allowing it to cool.
Pack the miso tightly into your sterilised fermentation vessel by hand, removing any air pockets. Cover with a layer of clingfilm and place a small weight on top.
Close the lid of the jar loosely to allow for gas exchange while still preventing contamination.
Ferment the miso at room temperature for 3 months. During this time, occasionally remove the lid completely from your fermentation vessel to allow the miso to ‘breathe’. The kōji will continue to grow on the surface of the miso and may resemble mould. If any surface mould appears suspicious (e.g. it is a different colour to your kōji spores), remove it and sprinkle a little salt where it was before re-covering. If you have not used a weight to condense the miso, re-compact it with a sanitised spoon.
After the fermentation is complete, remove the plastic covering and scoop off any mould that is on the top. Transfer the remaining miso to a clean, sterilised jar for storage.
The miso can then be refrigerated and stored for up to 1 year, or frozen for longer-term storage. Refrigeration and freezing slow down but do not completely stop the microbial and enzymatic activity. If the final desired flavour profile is desired without any further change, seal the miso in an airtight jar or vacuum bag and put it into a water bath or steam at 90°C for 40 minutes to denature enzymes and arrest further activity.
iii. Adaptations
You could also try fermenting this miso for different lengths of time. For a longer fermentation period, you can reduce the amount of kōji used while increasing the salt content. For example, for a 1-year ferment, you could reduce the kōji content to 10% of the combined BSG purée+soy weight and increase the salt content to 8%. Alternatively, to make miso more quickly, you could incubate it at 60°C for 1 month. Accelerating fermentation in this way may result in reduced microbial complexity and a less robust flavour.
Contributions & acknowledgements
Kim performed the original culinary research, which he documented through notes and photography. Eliot wrote the article using these notes and following further discussion with Kim, with contributions and editorial feedback from Josh. Nurdin and Taylor photographed the final product in our food lab.
This recipe has roots in Kim’s previous work as Head of R&D at the former Amass Restaurant in Copenhagen. Thank you Amass for facilitating such trailblazing work in culinary upcycling and holistic sustainability!
Related posts


Endnotes
[1] By dry weight; Sana Ikram, Lian Yan Huang, Huijuan Zhang, Jing Wang and Meng Yin (2017), ‘Composition and nutrient value proposition of brewer’s spent grain’, Journal of Food Science.
[2] We use dried BSG, as it is easy to keep shelf-stable. You could instead use fresh wet BSG, but you’d need to know its water content and adjust the recipe accordingly. This can be done by simply dehydrating 100g overnight and weighing the remainder.
[3] Boiling water helps suppress microbial spores on the BSG, which can otherwise cause off-flavours or illness. As the BSG break down, its natural acidity further inhibits unwanted microbes during milling.